Welcome to the Spitfire & GT6 Information Warehouse
Formerly the home of Spitfire & GT6 Magazine!
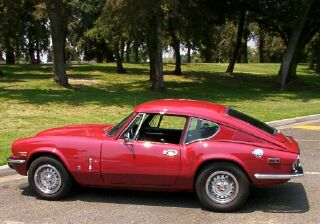
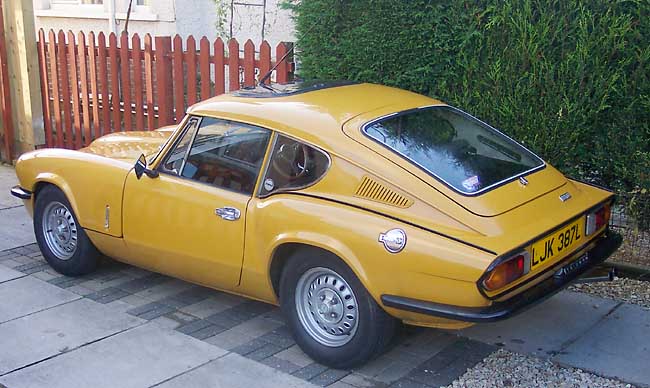
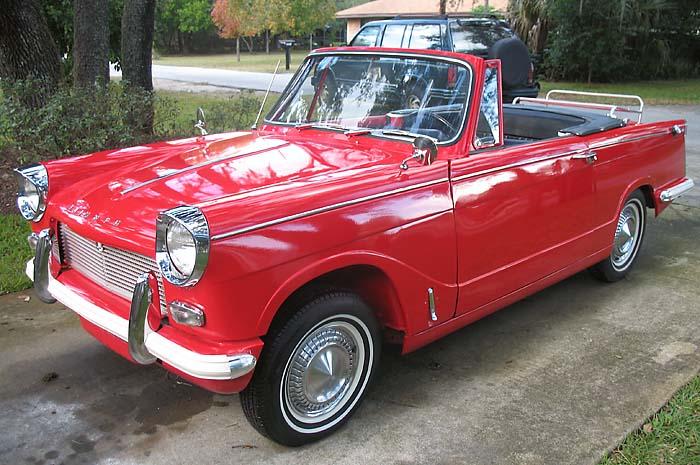
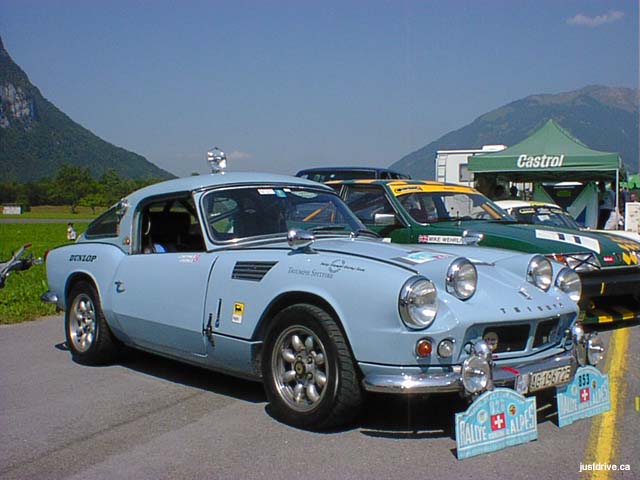
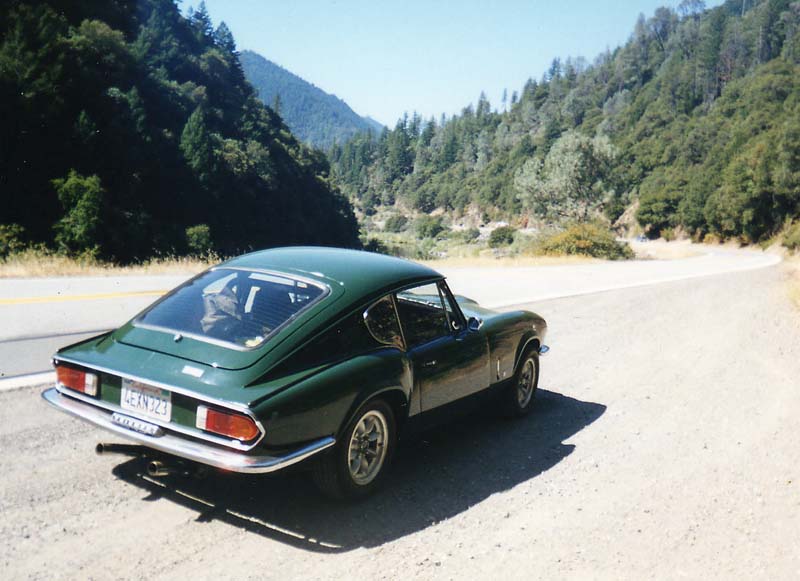
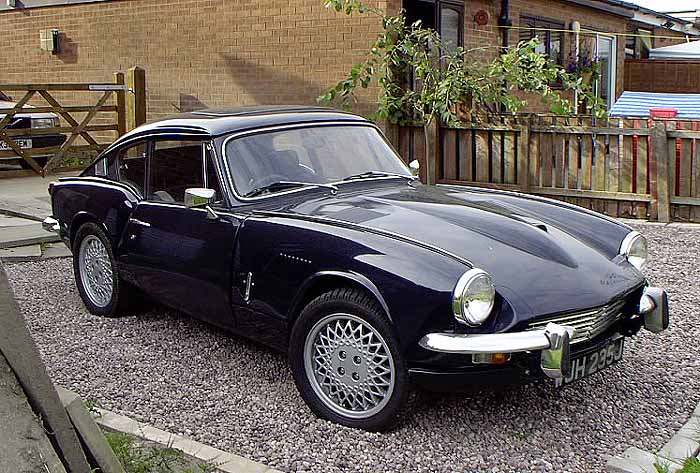
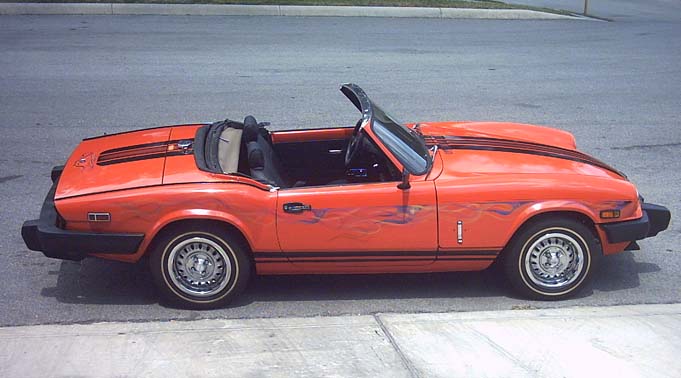
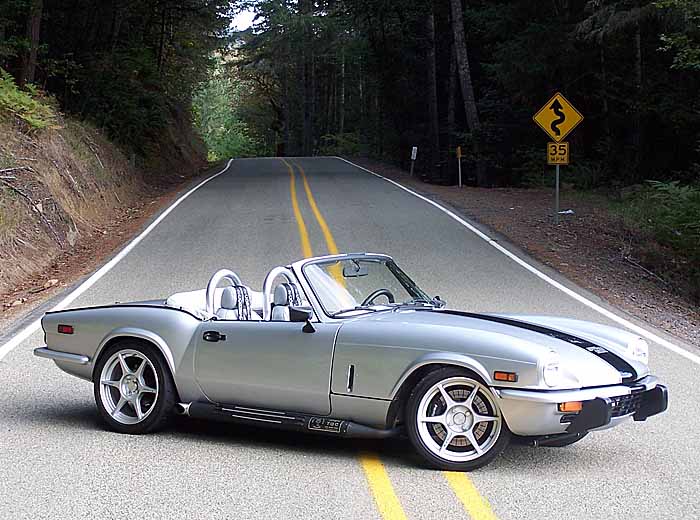
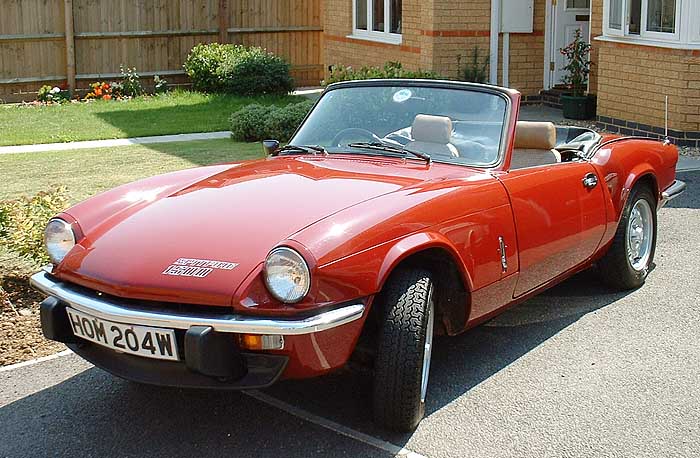
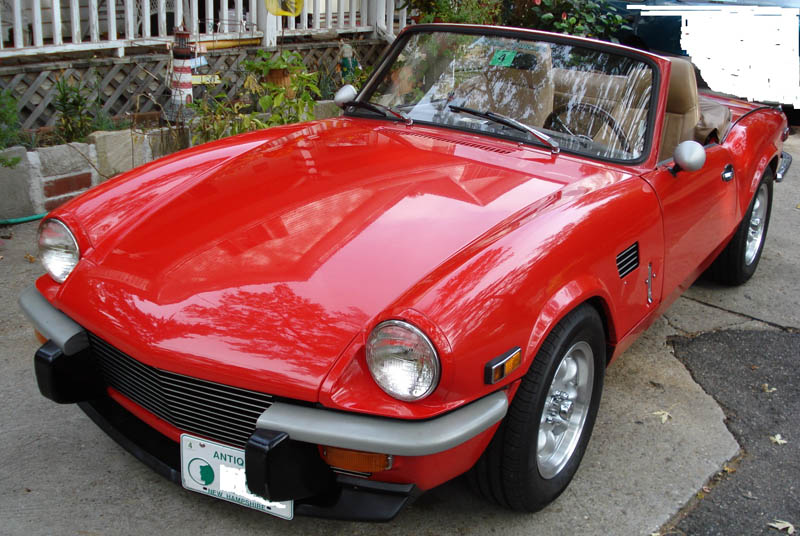
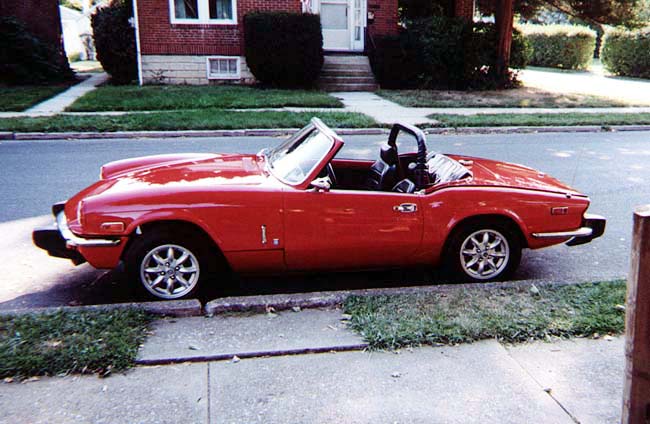
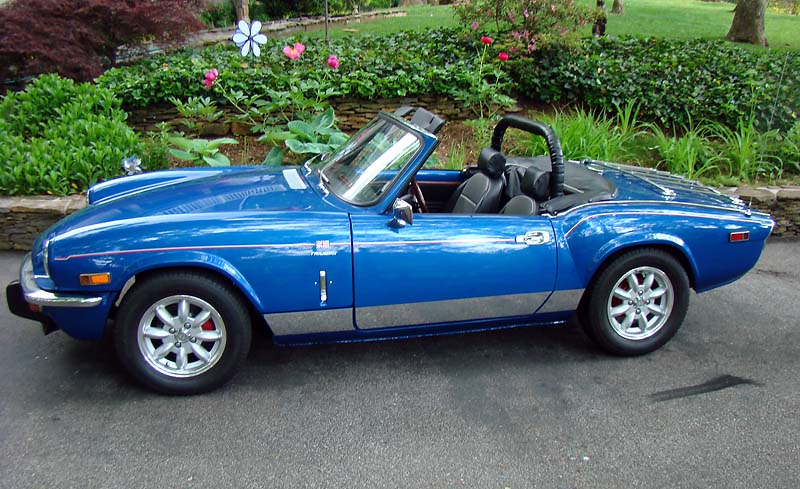
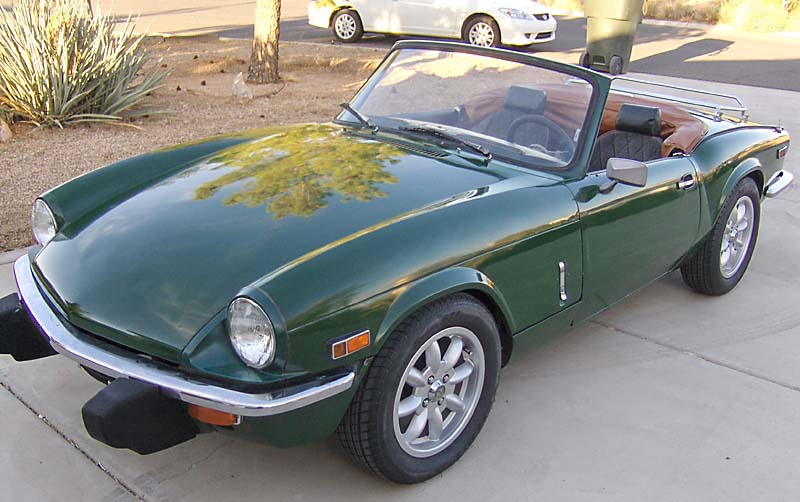
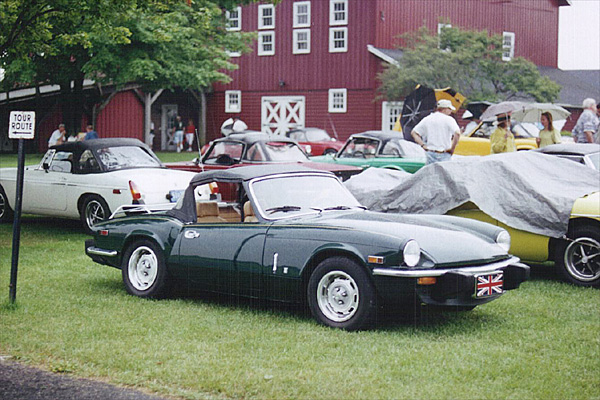
The goal of this website is to be THE source for all information dealing with the Spitfire, GT6 Herald, Vitesse/Sport 6 and other smaller Triumph Models. From specifications to information about giving your car more power, we are your website.